Encryption
encryption.RmdAdapted from:
Collin Schwantes, Alix Augusto Armero Villanueva, Nathan Layman, Kevin J. Olival, Ernest Guevarra, Evan Eskew, Maëlle Salmon, Shirley X. Chen, & Noam Ross. (2023). EHA Modeling & Analytics Handbook (v1.0.0). Zenodo. https://doi.org/10.5281/zenodo.8408552
How do we share data in git repositories that needs to be secure?
Sometimes we need to store and share secure information, such as
passwords or API keys, to online service accounts. One of our methods of
choice for this is to keep these files stored in git/GitHub
repositories, but to encrypt them. We do this using PGP (Pretty Good
Privacy) encryption, implemented by the program git-crypt. It
takes a bit to set up but once activated makes sharing secure and
seamless.
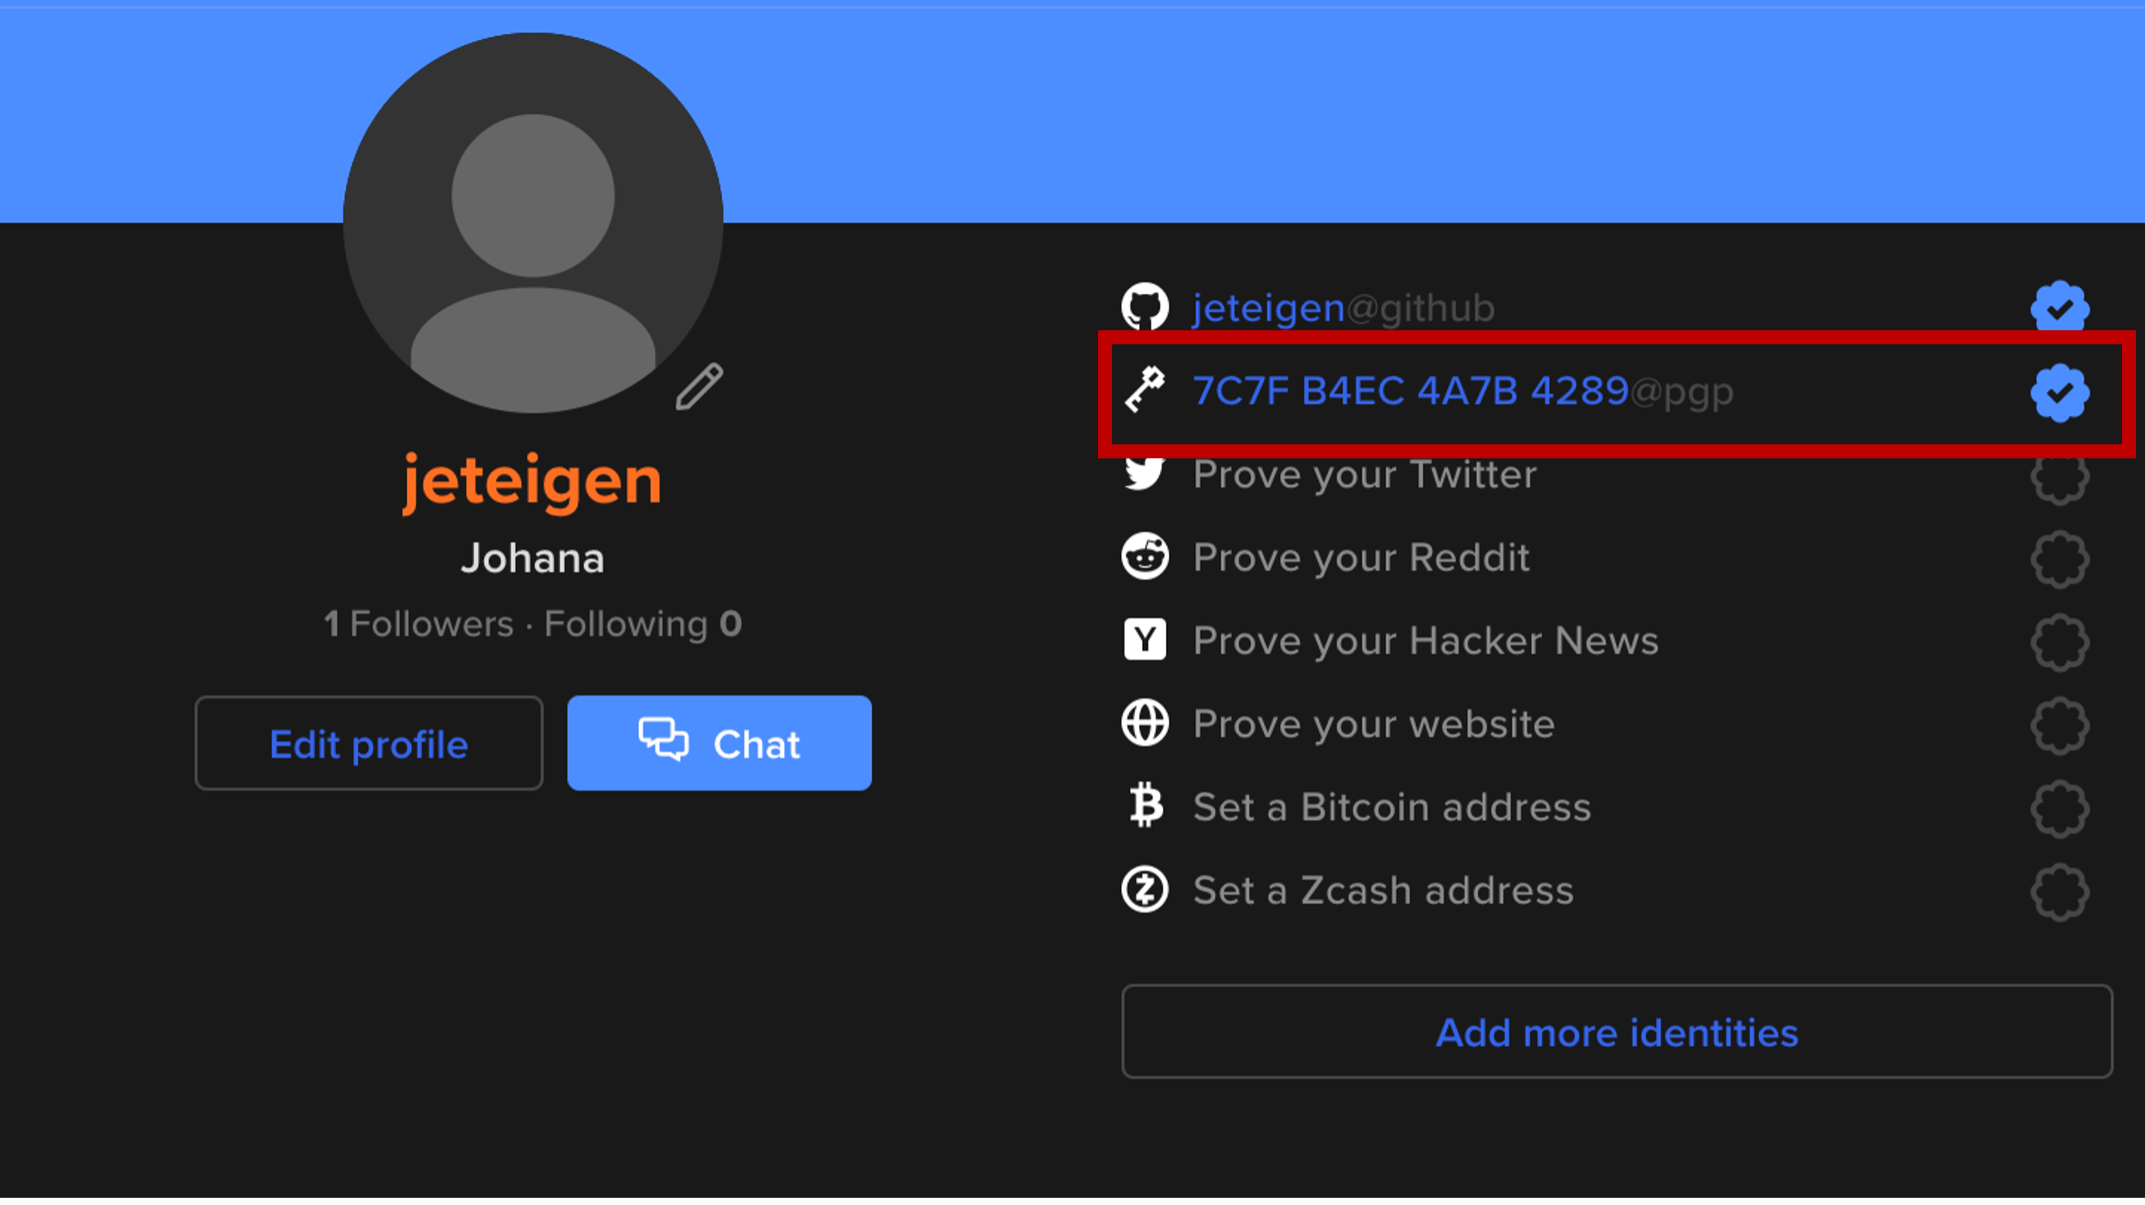
The PGP encryption scheme involves making a public key that you share and a private key that you use to decrypt data encrypted with your public key. We also use Keybase, a service that helps you publish and verify a public key for this purpose.
Windows
Set up Keybase on Windows
Sign up for Keybase, and follow the instructions for installing it on your computer.
Note that if you switch computers, you need to have another device
associated with the keybase account and/or a copy of your paper key in
order to recover your key.
A password
manager like 1Password or Bitwarden would be helpful for
securely storing a paper key.
Installing Keybase on Windows
For installing on Windows, the easiest way is to download and install the graphical user interface available from the Keybase download page. This will also install the necessary command line tools.
Install gpg and git-crypt on Windows
gpg is the program that implements encryption, and
git-crypt sets up git repos for encrypted sharing using
gpg.
For Windows there are two alternative approaches.
Using Windows Subsystem for Linux (WSL)
The first approach is to utilize the Windows Subsystem for Linux (WSL). This method requires Windows 10 or higher. You must first install WSL. Do so following this guide: https://docs.microsoft.com/en-us/windows/wsl/install.
Once WSL is set up, the necessary packages can be installed through the WSL command line shell. Run the following in the shell:
sudo apt update
sudo apt install keybase gpg git-crypt
Using Windows: install binaries
The second method is to install pre-compiled Windows binaries for GPG and git-crypt.
First download a Windows-compatible binary for GPG which can be found (here)https://gnupg.org/download/. The ‘Simple installer for the current GnuPG’ binary on that page is the recommended choice.
Then install git-crypt by via the following steps:
- Downloading
git-crypt-*.exefrom https://github.com/AGWA/git-crypt/releases.- This may generate the warning “git-crypt-*.exe is not commonly downloaded and may be dangerous”. Click the up arrow next to ‘Discard’ and select ‘Keep’.
- Even after this the download may fail with the message ‘Failed - Virus detected’. Do not worry this is a false positive. If this occurs, search for ‘Virus & thread protection’ in the task bar and click on ‘Manage settings’ under ‘Virus & thread protection settings’. Once there, turn off “real-time protection” and try downloading again. Please make sure to turn it back on again when done.
- Once downloaded, rename the file to
gpg-crypt.exe. - Move the resulting
gpg-crypt.exeinto a folder recognized by the Windows PATH environment variable. A convenient location isC:\Program Files\Git\cmd\.
Once Keybase and GPG are installed, the terminal commands related to exporting keys from Keybase into GPG are the same regardless of operating system.
Create your Keybase keys for Windows
If you are just starting to use Keybase, you can generate new keys for use on your computer using this guide: https://github.com/pstadler/keybase-gpg-github. That guide also helps set up using your key to sign GitHub commits, which you should do for added security.
Create a password associated with your keys when asked. You can store this in your password manager such as 1Password or BitWarden. Once your keys are created, visit your Keybase account at and verify your keys via as many other services, devices, or online identities as you want. We suggest at least three. It is also a good idea to generate a physical ‘paper key’ and store it in a secure location.
Import your keys to your local keychain for Windows
If you have a Keybase account set and keys already generated, you can now import your Keybase keys to use. Instruction are found at https://blog.scottlowe.org/2017/09/06/using-keybase-gpg-macos/. When followng those instructions, set your keys to maximum trust level.
Configure gpg for Windows
Windows needs to inform git of the location of the gpg executable. This can be done by opening cmd or PowerShell and entering the following command:
git config --global gpg.program "C:\Program Files (x86)\GnuPG\bin\gpg.exe"Note that if GnuPG is installed in a different location the command should be altered to reflect this change.
Linux
Set up Keybase for Linux
Sign up for Keybase, and follow the instructions for installing it on your computer.
Note that if you switch computers, you need to have another device
associated with the keybase account and/or a copy of your paper key in
order to recover your key.
A password
manager like 1Password or Bitwarden would be helpful for
securely storing a paper key.
Installing Keybase on Linux
For installing on linux, first identify the distribution by entering the following command into a terminal and noting down the Distributor ID.
lsb_release -aNext identify the architecture via,
archFollow the instructions to install Keybase on Linux, available here, making sure to use the section relevant to the architecture and distribution information identified above.
Install gpg and git-crypt for Linux
gpg is the program that implements encryption, and
git-crypt sets up git repos for encrypted sharing using
gpg.
Create your Keybase keys for Linux
If you are just starting to use Keybase, you can generate new keys for use on your computer using this guide: https://github.com/pstadler/keybase-gpg-github. That guide also helps set up using your key to sign GitHub commits, which you should do for added security.
Create a password associated with your keys when asked. You can store this in your password manager such as 1Password or BitWarden. Once your keys are created, visit your Keybase account at and verify your keys via as many other services, devices, or online identities as you want. We suggest at least three. It is also a good idea to generate a physical ‘paper key’ and store it in a secure location.
Import your keys to your local keychain for Linux
If you have a Keybase account set and keys already generated, you can now import your Keybase keys to use. Instruction are found at https://blog.scottlowe.org/2017/09/06/using-keybase-gpg-macos/. When followng those instructions, set your keys to maximum trust level.
Configure gpg on Linux
A common source of errors for Linux users is that the text entry for
gpg isn’t set properly. This means that gpg
and your terminal aren’t speaking the same language. You can fix this by
setting the GPG_TTY environment variable in your shell
configuration.
export GPG_TTY=$(tty)Adding this to your .profile, .bashrc,
.zshrc or other settings files prevents having to run the
command when you use git-crypt or sign commits. U
Use a text editor to modify the settings file for your shell. These
are set in one of the files ~/.profile,
~/.bashrc, ~/.zshrc. For most macOS users, it
is ~/.zshrc. Here are instructions using nano,
an editor available on most machines.
In the terminal, run:
nano ~/.zshrcThen, in the nano text editor that comes up, add the following line to the file:
export GPG_TTY=$(tty)In the nano editor, press Ctrl-O to write (“write-Out”) to save your
changes, then press Ctrl-X to exit. Alternatively, run the following
line in the terminal to change your .zshrc file without
using nano or any other editor:
echo "export GPG_TTY=$(tty)" >> ~/.zshrc && source ~/.zshrcmacOS
Set up Keybase for macOS
Sign up for Keybase, and follow the instructions for installing it on your computer.
Note that if you switch computers, you need to have another device
associated with the keybase account and/or a copy of your paper key in
order to recover your key.
A password
manager like 1Password or Bitwarden would be helpful for
securely storing a paper key.
Installing Keybase on macOS
For installing on macOS, the easiest way is to download and install the graphical user interface available from the Keybase download page. This will also install the necessary command line tools.
You may also use homebrew to install keybase on
macOS
Install gpg and git-crypt for macOS
gpg is the program that implements encryption, and
git-crypt sets up git repos for encrypted sharing using
gpg.
Use homebrew to
install gpg, git-crypt. You should also
install pinentry, which is a helper program for entering
passwords securely. Run the following in the terminal:
brew install gpg
brew install pinentry
brew install git-crypt
Homebrew automatically updates when you run it so if you haven’t used it in a while there may be a somewhat lengthy update
Create your Keybase keys for macOS
If you are just starting to use Keybase, you can generate new keys for use on your computer using this guide: https://github.com/pstadler/keybase-gpg-github. That guide also helps set up using your key to sign GitHub commits, which you should do for added security.
Create a password associated with your keys when asked. You can store this in your password manager such as 1Password or BitWarden. Once your keys are created, visit your Keybase account at and verify your keys via as many other services, devices, or online identities as you want. We suggest at least three. It is also a good idea to generate a physical ‘paper key’ and store it in a secure location.
Import your keys to your local keychain for macOS
If you have a Keybase account set and keys already generated, you can now import your Keybase keys to use. Instruction are found at https://blog.scottlowe.org/2017/09/06/using-keybase-gpg-macos/. When followng those instructions, set your keys to maximum trust level.
Configure gpg on macOS
A common source of errors for macOS users is that the text entry for
gpg isn’t set properly. This means that gpg
and your terminal aren’t speaking the same language. You can fix this by
setting the GPG_TTY environment variable in your shell
configuration.
export GPG_TTY=$(tty)Adding this to your .profile, .bashrc,
.zshrc or other settings files prevents having to run the
command when you use git-crypt or sign commits. U
Use a text editor to modify the settings file for your shell. These
are set in one of the files ~/.profile,
~/.bashrc, ~/.zshrc. For most macOS users, it
is ~/.zshrc. Here are instructions using nano,
an editor available on most machines.
In the terminal, run:
nano ~/.zshrcThen, in the nano text editor that comes up, add the following line to the file:
export GPG_TTY=$(tty)In the nano editor, press Ctrl-O to write (“write-Out”) to save your
changes, then press Ctrl-X to exit. Alternatively, run the following
line in the terminal to change your .zshrc file without
using nano or any other editor:
echo "export GPG_TTY=$(tty)" >> ~/.zshrc && source ~/.zshrcStorage, Use, & Mangement of GPG Keys
Backing up and Recovering GPG Keys
GPG private keys are stored locally and vulnerable to loss in the event of a problem with a user’s local machine. There are two potential ways to do this, and a belt-and-suspenders approach is best:
- Use KeyBase to host an encrypted version of the key.
How do I save a key?
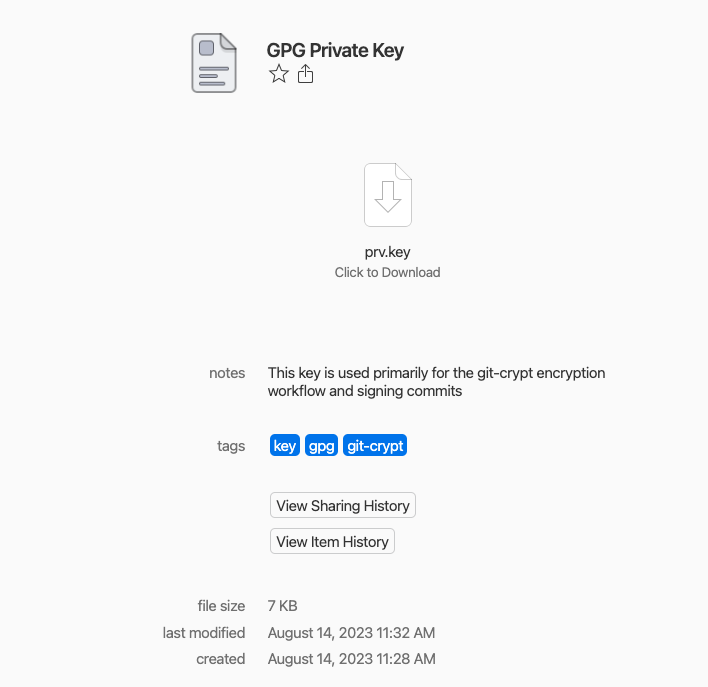
First, do not commit the private key to github. Consider adding
prv.keyto the.gitignorefile.Run the following commands to export public and private keys to file:
# Get list of keys on your machine. Replace USER NAME with the name associated with a listed key.

gpg --list-keys

# Save private key to a file -- DO NOT COMMIT TO GITHUB
# You will prompted to enter your GPG password - its the same
# password you would enter to sign commits

 gpg --export-secret-key -a USER NAME > prv.key

# Save public key to a file
 gpg --export -a USER NAME > pub.key
- Move private key to encrypted storage locations (e.g. keybase and 1password)
- Delete the private key from your machine to avoid leaks
How do I recover my gpg key from a file?
First download the key from one of your back up locations.
Then run the following commands:
# import the key
gpg --import prv.key

# list keys to get public {KEY}

gpg --list-keys

# set the trust level

gpg --edit-key {KEY} trust quit
  # enter 5<RETURN> (I trust ultimately)
  # enter y<RETURN> (Really set this key to ultimate trust - Yes)

# list keys to check that your key is trusted

gpg --list-keys
Use git-crypt to unlock a repository
The git-crypt
README outlines the basics of using git-crypt to
encrypted and decrypt files in a git repository.
First be sure your public key has been added to the repository. To do
this, check the .git-crypt/keys/default/0 folder in the
github repo for your public key. If your key is present pull or clone
the repo then run,
git-crypt unlockfrom the terminal or command line in the repository folder. If all goes well, congrats! Encryption and decryption for pushing and pulling should now happen automatically.
Managing which users can decrypt files in a repository
The instructions below will help you go further by outlining how to grant access to encrypted files on a repository and to initialize a new repository to use git-crypt.
Set up encryption for a repo that did not previously use git-crypt
This will initialize the repository and add the default gpg key to
git-crypt. Note: adding encryption to a repository will only encrypt
files going forward. Any previous versions in the commit
history will still be un-encrypted. Best practice is to set up git-crypt
first, add relevant file or folder names to the
.gitattributes file, and only then add any sensitive files
to the repo.
## In the repo base directory open the terminal or command line and enter:

git-crypt init

## To verify that files are being encrypted run:

git-crypt status

# add your key to git crypt
git-crypt add-gpg-user YOUR_KEY_HERE

# create .gitattributes file - will tell git crypt what should be encrypted
touch .gitattributes

# tell git crypt that .env should be encrypted
echo '**/.env filter=git-crypt diff=git-crypt' >> .gitattributes

# may also be a good idea to add **/auth  if you're going to be
# using non-interactive processes with dropbox and google drive
echo 'auth/** filter=git-crypt diff=git-crypt' >> .gitattributes
To learn more about pattern matching in the
.gitattributes file, see the git-crypt
read.me and gitignore
manual
Your .gitattributes file might look something like
this:
.env filter=git-crypt diff=git-crypt
auth/** filter=git-crypt diff=git-crypt
.gitattributes !filter !diff
Give contributors access to encrypted files
First add their public key to your keychain. Visit their Keybase profiles (e.g., https://keybase.io/noamross) and click on the key - it will show several ways to import the keys. Two methods are shown below,
# curl + gpg pro tip: import noamross's keys
curl https://keybase.io/noamross/pgp_keys.asc | gpg --import

# the Keybase app can push to gpg keychain, too
keybase pgp pull noamross
Next edit the key so that it has sufficient trust levels as described in this guide.
# in terminal

gpg --list-keys

## Copy the key that matches the individual you want to allow access to ecnrypted files.

gpg --edit-key <keyID>

# At the gpg> prompt, use uid X to select the user ID you want to mark as trusted,
# then use the trust command to set the trust level.
# Use save to exit when you’re done.

.
Edit that key so that it has sufficient trust levels as described in the above
Add the key to your git repo (make sure you’re in the right directory)
## this will automatically commit changes. Note: replace [key] below with the
appropriate gpg key.

git crypt add-gpg-user [key]
push changes to remote (github)
git push
remind the added individual to pull these changes down before they try to unlock the repo. The individual who was just added will have to unlock the repo before they can access encrypted files.
git crypt unlockUse a symmetric key for automated processes
If you are using continuous integration on a repository with
encrypted files, you’ll need to provide a way for the CI system to
unlock them. An easy, but not most secure way is to provide a
symmetric key. You can generate this by running this in your
project directory. This key can always be regenerated so do NOT commit
it to your repository. In fact, it may be a good idea to add the key to
your .gitignore.
git-crypt export-key git_crypt_key.keygit_crypt_key.key can now be used to decrypt the
repository, and you can provide it to the CI system as an environment
variable. However, since it is binary data, you’ll need to convert it to
base64 first.
To copy the key out of the git_crypt_key.key, run :
cat git_crypt_key.key | base64 | pbcopyThen create a variable in your CI system’s environment called
GIT_CRYPT_KEY64 and paste the git_crypt_key
value there. For github actions, see this article
on adding repository secrets.
The key can now be removed from your system.
rm git_crypt_key.keyTo use the key later, you’ll need (1) git-crypt and
gpg installed in the CI system image, and (2) to run these
commands after the CI clones your repository:
echo $GIT_ENCRYPT_KEY64 > git_crypt_key.key64 && base64 -d git_crypt_key.key64 > git_crypt_key.key && git-crypt unlock git_crypt_key.keyUnlocking encrypted repos with a Symmetric key
[!CAUTION]
Danger zone. This method makes key leak more likely and should be avoided. Once a key leaks, there is no method for rotating keys, so the leaked key would have to be scrubbed from the git history and a new key put in its place.
Only share keys via secure methods like 1password or bitwarden.
Sometimes its necessary to pass a symmetric key directly to a collaborator.
Make sure git_crypt_key.key is in your
.gitignore.
In terminal, run the following code:
## create key
git-crypt export-key git_crypt_key.key

## test key
git-crypt lock

git-crypt status
## try opening an encrypted file - it should error out

git-crypt unlock git_crypt_key.key
## try opening an encrypted file, it should work as expected.
Send the file securely to your Collaborator. Your collaborator should run:
git-crypt unlock git_crypt_key.keyRemoving sensitive files from git history
AKA What to do if you accidentally committed sensitive files (data,
keys, etc.) to your repository either before encryption or our outside
the scope of your .gitattributes file.
- Take a breath.
- Make sure your sensitive files are included either in the
.gitattributesfile if you want them encrypted or delete them then add them to your.gitignorefile. You can add a filter for particular files any where in your repo with**/MySuperSensitiveFilesee gitignore documentation - Install
git-filter-repo - Navigate to your repo’s working directory
cd my/project/folder - Back up your
.git/configfile as certain elements will be removed when we rungit filter-repo - Run
git filter-repo --invert-paths --path PATH-TO-YOUR-FILE-WITH-SENSITIVE-DATAto remove a sensitive file. - Make sure you’ve removed everything you want from the repository’s history
- use
git log -- path/to/fileto see git history for a particular file. Note If you’ve successfully removed the file there won’t be any history to display.
- see
git logfor more information.
9)Check in with collaborators to make sure no one has work on branches in the repo they would like to keep.
- Next you will use
push --forceto overwrite all the history on github and all the branches on your repo. Push your changes to the remote usinggit push origin --force --all.
- You may have to add the origin back into your .git/config file
- Use
git push origin --force --tagsto remove sensitive files from any of your tagged releases. - Follow the instructions here for contacting github to make sure there aren’t any caches of the files on github.
- Tell your collaborators to
rebase,NOT MERGE, any branches created off the old repo history. - Wait a little bit to make sure that your file remove didn’t have unintended side effects then run the following code:
git for-each-ref --format="delete %(refname)" refs/original | git update-ref --stdin
git reflog expire --expire=now --all
git gc --prune=now- Breathe a sigh of relief.
Troubleshooting
If git-crypt unlock fails, try the following steps:
- Verify that GPG has successfully imported your private key from
Keybase by opening a shell and entering
gpg --list-secret-keys. If no keys are found, follow the guide for importing keys. This might fail for mac and linux users ifexport GPG_TTY=$(tty)is not in your .bashrc or .zshrc. - Make sure that your GPG private key has actually been added to the
repository. Navigate to the
~/.git-crypt/keys/default/0/directory on github and look for a file that matches your public key. - After verifying your key is on the remote github repo, pull from the remote to make sure the key is available to your local repository.
- Windows users need to let git know where to find the gpg executable. Double check that the gpg.exe really is in the folder you specified above. If not find it’s location or try re-installing gpg.
- Make sure that GIT knows about your signing key